Your crawl space. It’s probably not something you think about much, is it? Most folks don't, until their energy bills start climbing, or they notice their floors are freezing in winter and boiling in summer. If you've got a home with a crawl space here in Gilbert, AZ, paying attention to its insulation is a big deal for your comfort and your wallet.
I've seen all kinds of crawl spaces in my time, from pristine to pretty gnarly. And let me tell you, a properly insulated crawl space can make a world of difference. It's not just about keeping your home warm or cool; it’s about moisture control, preventing pests, and even improving your indoor air quality. So, let's talk about what you need to know.
Before You Start: Planning Your Crawl Space Project
First things first, you've got to figure out what kind of crawl space you have. Is it vented or unvented? Most older homes around Gilbert, especially those built in the 70s or 80s in neighborhoods like Val Vista Lakes, tend to have vented crawl spaces. This means there are vents to the outside, supposedly to let air circulate and prevent moisture buildup. The problem? In our climate, those vents often do more harm than good, letting in hot, humid air in summer and cold air in winter, making your HVAC work overtime.
You'll also need to inspect the space. Grab a flashlight, put on some old clothes, and take a look. What's down there? Any standing water? Signs of mold or mildew? Pests? Old, sagging insulation? This initial inspection is crucial. If you find significant moisture issues, mold, or structural problems, you're going to need to address those before you even think about insulation. Insulating over existing problems just traps them, making things worse.
Decide on your goal. Are you trying to reduce energy bills? Make your floors less cold? Improve air quality? Your goal will help determine the best insulation strategy. For most folks in Gilbert, sealing and insulating an unvented crawl space (encapsulation) is often the most effective route, especially with our intense summer heat and monsoon humidity.
During the Project: DIY or Call a Pro?
This is where it gets real. Can you do this yourself? Maybe. Some parts, definitely. Other parts, probably not. Here's my take:
- Cleaning and Prep: You can absolutely handle this. Remove any debris, old insulation, and clear out anything that shouldn't be down there. If there's standing water, you'll need to figure out why and fix the source. A good shop vac can be your best friend here.
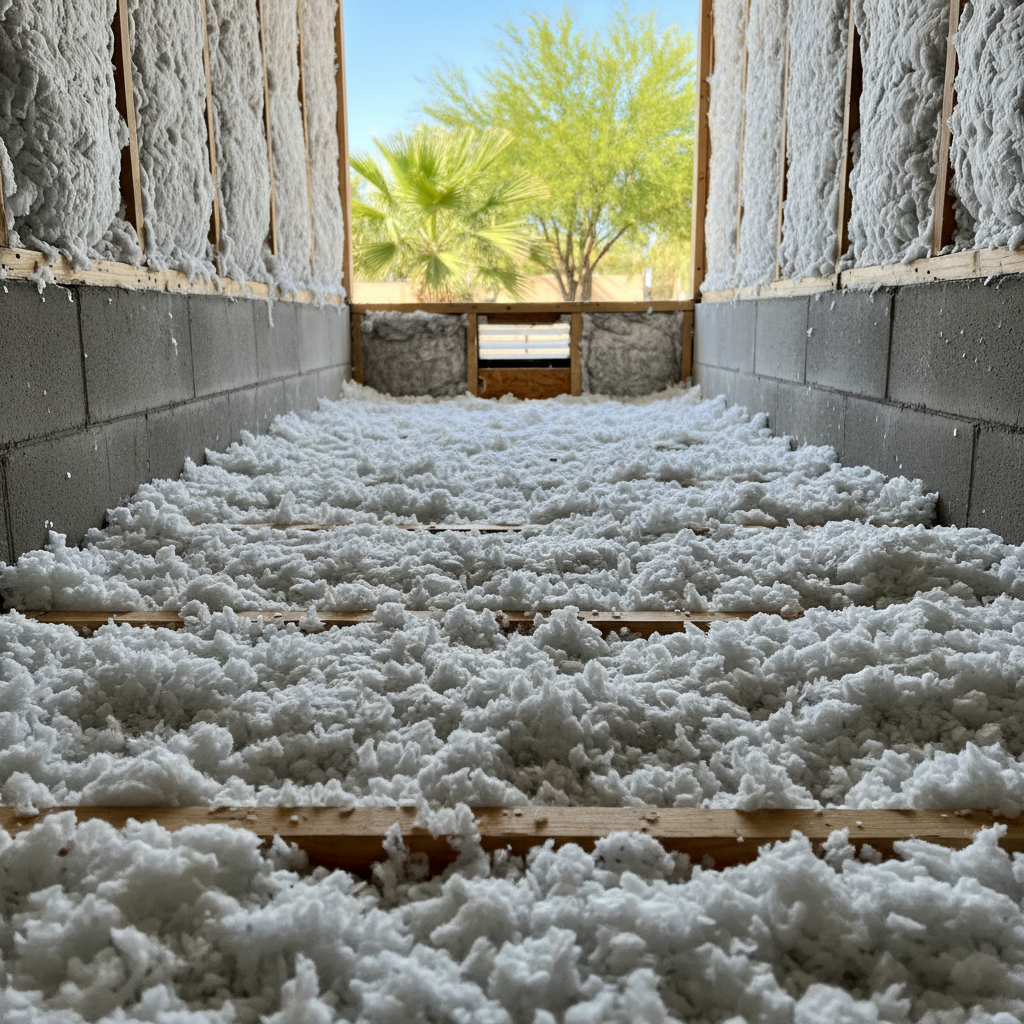
- Vapor Barrier Installation: This is a critical step, especially if you're going for encapsulation. You'll need to lay down a thick, durable vapor barrier (at least 10-mil polyethylene) across the entire crawl space floor, extending it up the foundation walls. You'll need to seal all seams and penetrations. It's tedious work, but doable for a handy homeowner. Just make sure you're using high-quality tape and mastic.
- Insulating Rim Joists: The rim joists are where your house frame meets the foundation. This is a common area for air leaks. You can cut rigid foam board to fit snugly in these cavities and seal them with expanding foam. This is a great DIY project that doesn't require getting too deep into the crawl space.
- Wall Insulation (Encapsulation): If you're converting to an unvented crawl space, you'll want to insulate the foundation walls. Rigid foam boards are a good option here, cut to fit and sealed. This can be DIY, but it requires careful measuring and sealing to be effective.
- Spray Foam Insulation: This is where I strongly recommend calling a professional. Spray foam is incredibly effective for sealing and insulating, but it requires specialized equipment, training, and safety gear. It expands, fills every void, and creates an airtight seal that no other material can match. Trying to DIY spray foam usually results in a mess, wasted material, and poor performance. For a thorough and efficient job, especially with closed-cell spray foam, you want someone who knows what they're doing. This is exactly what we do at Gilbert Spray Foam Insulation – we get it right the first time.
Remember, working in a crawl space is often dirty, cramped, and potentially hazardous. Always wear appropriate personal protective equipment (PPE): a respirator, gloves, eye protection, and long sleeves/pants. Make sure you have good ventilation if you're using any chemicals or foams.
After the Project: Maintaining Your Improved Crawl Space
Once the insulation is in, you're not entirely done. You'll want to do a quick check-up every year or so. Look for any tears in the vapor barrier, signs of new moisture, or pest activity. If you've encapsulated, you might consider adding a dehumidifier, especially if you live in an area prone to higher groundwater or have any lingering moisture issues. A small dehumidifier can keep the relative humidity in check, protecting your home's structure and improving air quality.
You should notice a difference pretty quickly: more consistent temperatures in your home, especially on the first floor, and hopefully, lower energy bills. It's an investment that pays off in comfort and savings. Don't let that crawl space be an energy drain; make it work for you.